Being widely popular in construction projects for residential and commercial properties, asphalt pavement is frequently used. With regular maintenance, this durable substance has a long lifespan of upwards of 25 years and can easily withstand external elements like heat, hail, ice, and rainfall. Today, we at Andersen Asphalt & Striping would like to explain the basics of asphalt installation.
Asphalt Pavement Construction Procedure
1) Demolition to Remove Existing Asphalt. Removing the old, existing surface is the first step. Pavers, concrete, and worn-out asphalt that is no longer functional are the common substances removed. The existing surface is recycled by DCPLM into reusable, new asphalt for future projects to minimize waste.
2) Grading and Sloping. By testing water runoff direction, the next step is to prepare the surface for proper water drainage. To ensure your asphalt’s structural strength remains intact, the area is strategically sloped and to make the asphalt porous enough to prevent water collection, grading is used. Since improper drainage leads to asphalt heaving, cracking, and pothole damage, this step is critical.
3) Preparing, Design, and Compacting the Sub-Base. A strong sub-base is required to provide your asphalt pavement with the support it needs to withstand inclement weather, as well as heavy vehicle impact. To prevent winter damage that occurs from the freeze-thaw cycle of the winter-spring months. This also keeps it from buckling under pressure, or from forming depressions or dips as it reinforces your asphalt pavement. Proper thickness, and compaction are needed to secure it in place and for the sub-base to be strong.
4) Identify Weak Spots in Sub-Base with Proof Rolling. DCPLM proof rolls the surface to identify any weak spots. This process involves making it strong and flexible by taking a loaded quad-axle dump truck and rolling it over the entire sub-base surface area, inch-by-inch.
The sub-base layer requires additional reinforcement before the asphalt can be installed if any of the sub-base layer begins shifting, dipping, or flexing by more than an inch under the quad-axle truck.
5) Binding. A binder is applied once the proof roll reveals that the sub-base layer is strong and supportive enough for the asphalt pavement installation. The new asphalt pavement installation gets its strength by this binder. The binder is an aggregate base, mixed with oil.
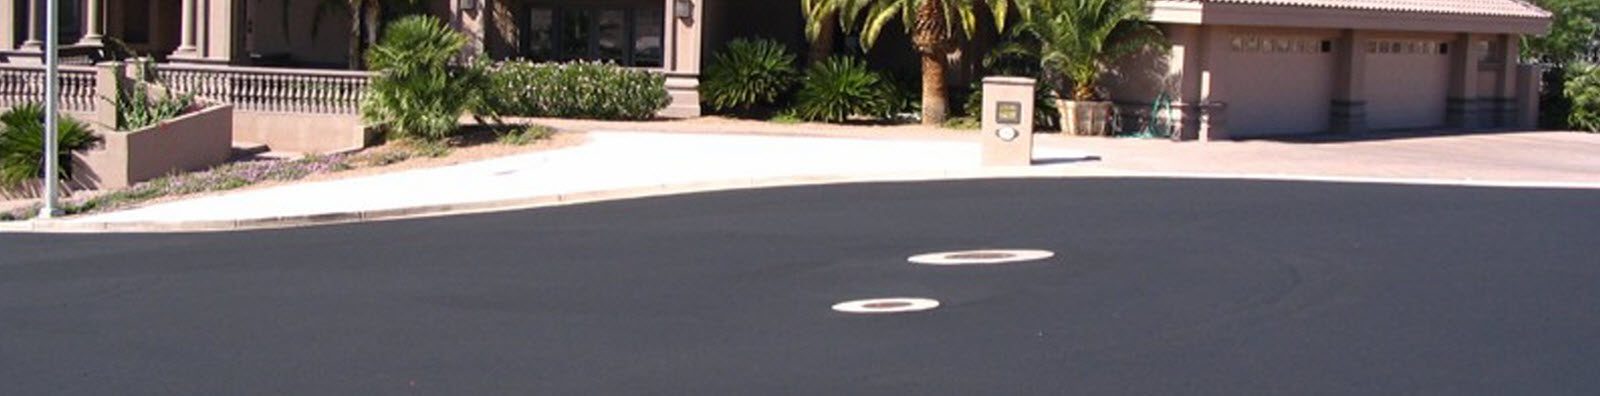
6) Installing the New Asphalt Surface. A new solid foundation is created after 24-48 hours when the sub-base layer and applied binder is completely cured. To create that smooth, jet-black finished surface you are used to seeing on roadways, and parking lots, a fresh layer of asphalt is added on top. Bitumen (binding agent), oil, and sand comprises the surface asphalt.
7) Butt Joints & Transitions to Smooth Out the Surface. The asphalt pavement installation will connect to existing roadways, parking lots, or driveways, usually, to make the transition from new to old smooth. In order to ensure that pedestrians don’t notice the difference between the old and new asphalt surfaces, the smoothing process is done with butt joints, and graded transitions.
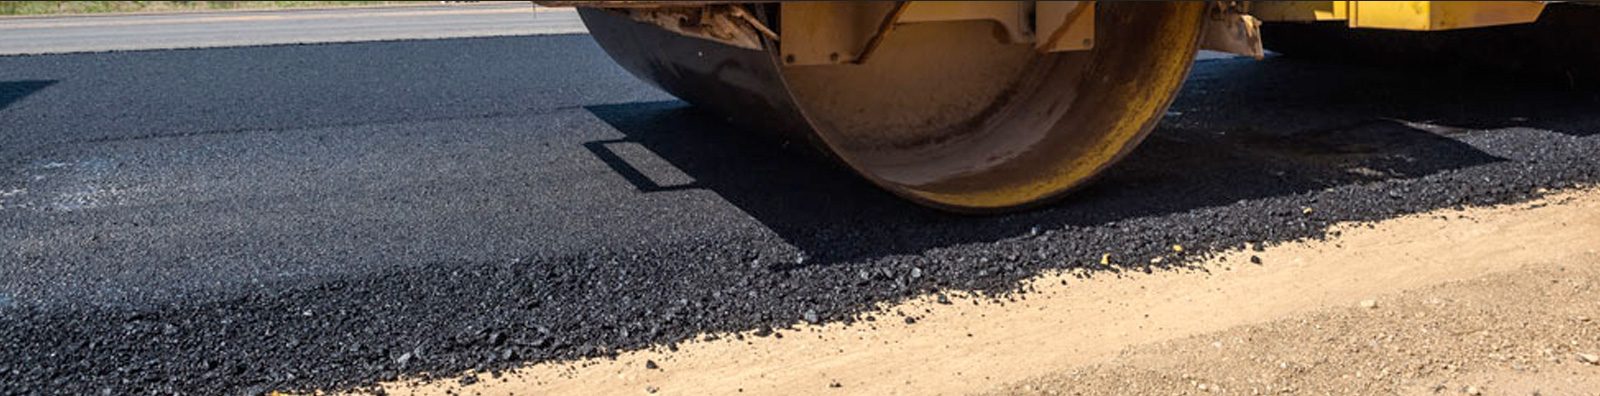
8) Roll Over. A roller truck is used to ensure that the new asphalt pavement installation is compact and smooth after all the butt joints and transitions are laid out. This prevents aggregate bumps or stones left poking through the new surface.
Asphalt Parking Lot & Road Pavement Installation, Replacement & More in Reno, Elko, Henderson, North LV, Paradise, Spring Valley, Sunrise Manor, Las Vegas, NV | State of Nevada
When you need new asphalt pavement in Nevada, call in the experts of Andersen Asphalt & Striping and let us assist you!