
When installing asphalt, most clients expect the new asphalt to be installed within a day or two and can be disappointed that it can takes much longer than that. Asphalt may seem fast and easy to install. However, that is not the case. There are many steps that must be taken when installing asphalt and the proper time to do the project right. When laying asphalt, the client must understand the steps and time frame for quality asphalt installation. Andersen Asphalt & Striping would like to share each step of asphalt installation to help our clients better plan for this intense project.
Step 1. Asphalt Removal & Demolition
The first step of asphalt installation is demolition or the removal of the current surface. If there is old asphalt, concrete, or paver stones, it will need to be removed first. Often this will require a dump truck and a bobcat and or forklift to help remove the current surface.
Step 2. Sloping & Grading
Once the previous surface material has been removed, it is time to prepare the asphalt site. Using a laser guided transit along with an automatic motor grader, the asphalt site will be graded, often with a slight slope. Grading is important as the asphalt road will require proper drainage. Puddling water is one of number one causes of asphalt damages.
Step 3. Sub Base Preparation
This third step is preparing the sub base, and it is one of the most important steps in asphalt installation. The sub base provides a stable surface that will support the new asphalt. The sub base protects the asphalt ground from the ground up. The base thickness will impact the stability and it’s compaction. If the sub base isn’t properly prepared, the asphalt longevity is compromised.
Step 4. Proof Roll, Sub Base Repair & Undercutting
Once the sub base has been graded then the next step is to proof roll the ground surface. Proof rolling the surface makes sure asphalt is properly supported. If needed, the ground may require some undercutting which means the ground will be dug down 2 to 3 feet. Undercutting is only needed if the ground is on soft clay or loose soil. If undercutting is done, often a plow is used to dig down. Afterwards, a stronger aggregate material is used for the sub base.
Step 5. Binder Course Layer
Once the sub base is properly prepared, the sub base will need to be covered with a binder. A binder layer is a large aggregate mixed with an oil which will ensure the asphalt is stronger.
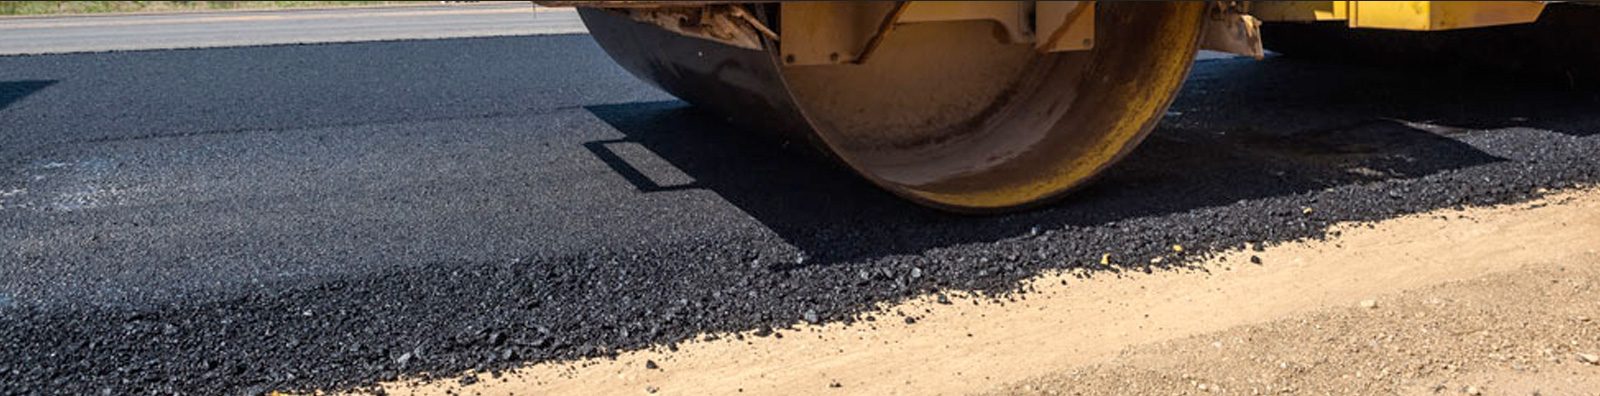
Step 6. Installing the Asphalt
It is now time to install the asphalt. Asphalt is made with a combination or sand, oil, and small aggregate and together it makes a smooth solid black road or driveway. The asphalt is laid smoothly across the site. If the asphalt contacts with concrete, butt joints are needed. Butt joints allow for a smoother transition from asphalt to concrete. After the asphalt is installed the butt joints are installed shortly after.
Step 7. Final Roll
Once the butt joints and asphalt has been completed, the last and final step is rolling the asphalt. The final roll smooths out the asphalt removing any bumps that may be in the road.
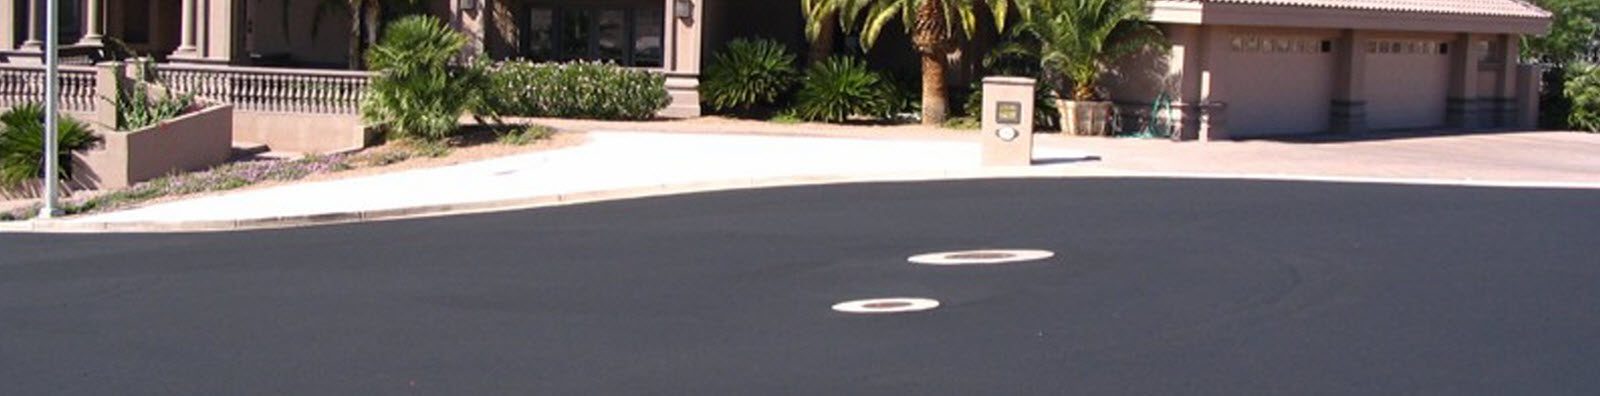
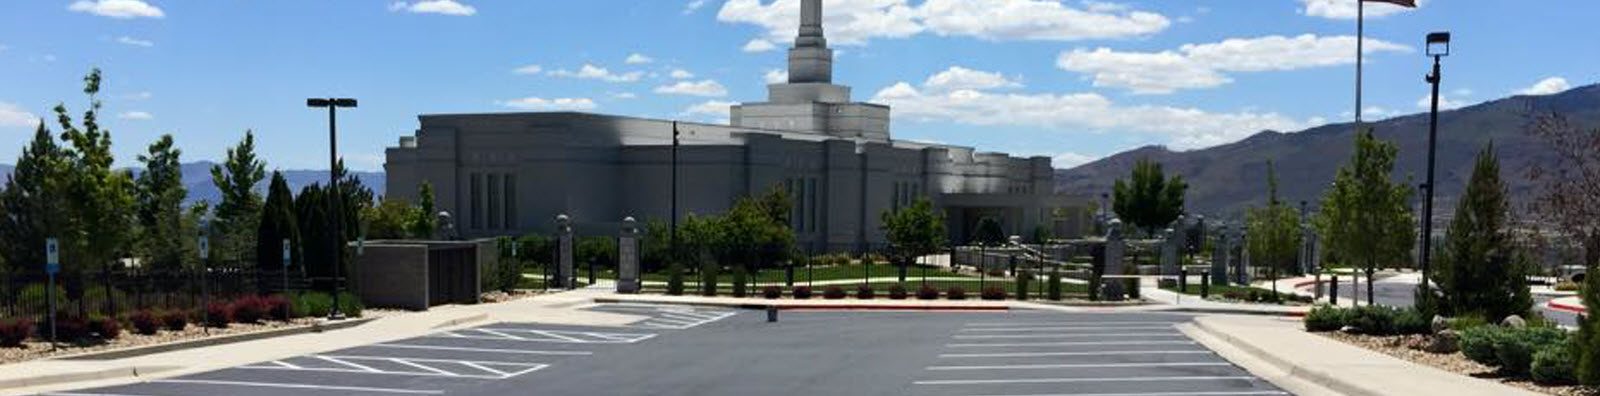
Asphalt Paving Contractor Installation & More in Reno, Elko, Henderson, North LV, Paradise, Spring Valley, Sunrise Manor, Las Vegas, NV | State of Nevada
Depending on the asphalt site and what is needed to complete each step, installing new asphalt can take anywhere from 3 day to 30 days. When planning an asphalt installation, make sure to be prepared for the time it will take to prepare and install the asphalt perfectly. For asphalt installation, repair and more contact Andersen Asphalt & Striping.